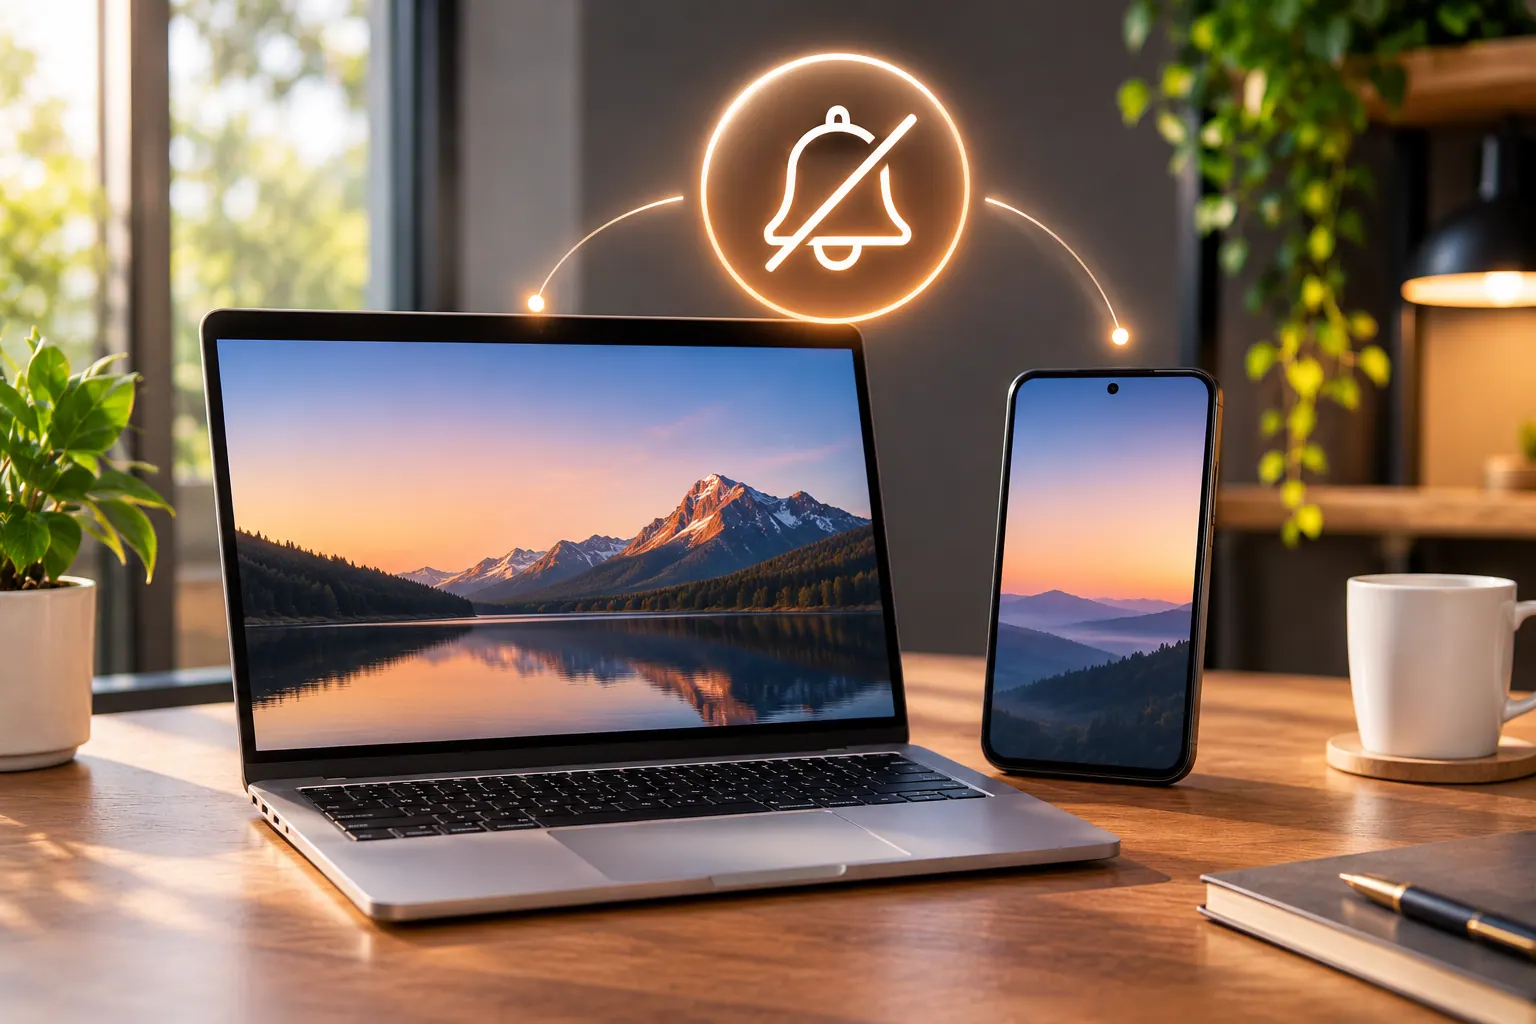
It took me three minutes in Chrome’s Site Settings to silence those pop-ups permanently across both my desktop and Android phone—while keeping legitimate alerts from Gmail and Google Calendar intact. Here is the exact step-by-step setup to block notification prompts at the source and revoke existing spam sites.
Last month, I accidentally tapped “Allow” on a recipe blog’s pop-up prompt on my Android phone, and within 48 hours my lock screen was flooded with 19 fake virus alerts and spam headlines. Worse, every third website I opened on my Windows laptop kept dropping a gray “example.com wants to show notifications” box right over the paragraph I was trying to read.
Quick Checklist Before You Start
- Google Chrome on Desktop (Windows, Mac, or Linux) or Chrome for Android
- 3 minutes to adjust global Site Settings and clean out your existing “Allowed” list
- Names of 1 or 2 web apps you actually want alerts from (such as ://google.com or ://google.com) so you can whitelist them safely
Step 1: Turn Off Notification Prompts Completely on Desktop Chrome
By default, Chrome lets every website interrupt your reading with a permission pop-up the second the page loads. Switching one global setting stops websites from ever asking in the first place.
- Open Chrome on your computer, click the three-dot menu in the top-right corner, and choose Settings.
- Click Privacy and security in the left sidebar, then select Site settings.
- Scroll down to the Permissions section and click Notifications.
- Under Default behavior, select Don’t allow sites to send notifications.
(Tip: If you occasionally want a quiet bell icon in the address bar instead of a full block, choose Use quieter messaging—though selecting Don’t allow eliminates the clutter completely.)
Step 2: Revoke Sites You Already Allowed by Mistake (Desktop)
Turning off future prompts stops new websites from asking, but any spam site you previously clicked “Allow” on will keep sending desktop banners until you remove it manually.
- Stay on the exact same Notifications settings screen (chrome://settings/content/notifications).
- Scroll down past the default behavior options until you see the Allowed to send notifications list.
- Scan the list for unfamiliar news sites, file converters, or coupon domains.
- Click the three-dot menu next to each unwanted domain and select Remove (or Block if you want to ensure it never gets re-added).
- Leave only essential web tools—like https://google.com or https://whatsapp.com—in the allowed section.
Step 3: Stop Notification Prompts on Chrome for Android
Mobile pop-ups are even more annoying because they cover half your phone screen right when your thumb is scrolling. Changing this setting inside Chrome on Android blocks the prompts without muting your actual Android system alerts.
- Open the Chrome app on your Android phone and tap the three-dot menu in the top-right corner.
- Tap Settings, then scroll down to Site settings.
- Tap Notifications.
- Toggle the top Notifications switch to Off.
- Before leaving the screen, tap Allowed (if visible) and remove any shady websites that slipped onto your phone earlier.
Step 4: Whitelist Only the Web Apps You Actually Need
Once global notifications are set to Don’t allow, legitimate web apps will no longer pop up a request box—which is exactly what you want. If you still rely on browser alerts for work email or chat, add them manually in 15 seconds.
- On Desktop Chrome, go to Settings > Privacy and security > Site settings > Notifications.
- Next to Allowed to send notifications, click the Add button.
- Type the exact URL (for example, https://google.com) and click Add.
- On Android, visit the specific site you trust, tap the sliders/padlock icon on the left side of the address bar, tap Permissions > Notifications, and toggle it On for that single domain.
What Goes Wrong in Real Life (And How to Fix It)
Scenario 1: Fake “McAfee” or “System Infected” Pop-Ups Still Appear on Android
You turned off future notification prompts in Chrome, yet your Android notification shade still buzzes every 15 minutes with alarming “Your phone is infected!” warnings carrying a tiny Chrome icon. Those alerts come from a site you already granted permission to before changing the setting—and Android registers each website as its own system notification channel.
- The fix: Press and hold directly on one of the spam alerts in your Android notification shade until the settings card expands, then tap Settings (or the gear icon). You will see the exact culprit domain listed under Sites—toggle that site’s switch Off, then open Chrome’s Site settings > Notifications > Allowed list and delete the domain permanently.
Scenario 2: In-Page Overlay Boxes Keep Asking “Get Breaking News Alerts?”
Even after setting Chrome to Don’t allow sites to send notifications, some news blogs still show a custom HTML banner inside the webpage saying “Tap Yes to receive instant updates.” Because those boxes are built directly into the website’s own page layout rather than Chrome’s native permission system, Chrome’s global toggle does not block them.
- The fix: Click No thanks or the small X on the webpage’s custom banner—never click Yes, because clicking Yes triggers Chrome’s blocked permission request behind the scenes. If a site hides the close button, enable Reader Mode in Chrome or use a lightweight content blocker to hide annoying floating overlays.
Common Mistakes I Made (And How to Avoid Them)
- Tapping “Allow” just to pass a fake CAPTCHA screen: Spam download sites often show a fake “Click Allow to prove you are not a robot” message right underneath Chrome’s native notification box. Never click Allow to download a file or prove you are human—close the tab immediately.
- Turning off all Chrome app notifications in Android System Settings: If you mute Chrome entirely inside your phone’s main Android App Info menu, you also lose your active download progress bars and incognito session shortcuts. Always turn off website notifications inside Chrome > Settings > Site settings > Notifications instead.
- Forgetting that Chrome Sync carries allowed sites across devices: If you are signed into the same Google account on your work laptop and home PC with Sync enabled, allowing a spam site on one computer can sync that permission to your other computer. Clean out your Allowed list once while signed in so the clean list syncs everywhere.
- Ignoring notification permissions inside Microsoft Edge or Brave: If you use Edge alongside Chrome on Windows, websites will keep asking there too until you open edge://settings/content/notifications and toggle Ask before sending to Off.
Frequently Asked Questions
Will blocking website notifications stop Gmail or WhatsApp Web from working?
No. Gmail, Google Calendar, and WhatsApp Web work normally without browser notifications—you simply will not get floating desktop pop-up banners when a tab is minimized. If you want those banners back for one specific tool, add its URL to your Allowed list.
Why do sketchy websites push browser notifications so aggressively?
Once you click Allow on a website’s notification prompt, that site can send push messages straight to your phone’s lock screen or Windows Action Center even when your browser is completely closed. Spam networks exploit this feature to push fake antivirus ads and clickbait links all day.
How can I tell if an Android alert is from a real app or a Chrome website?
Look closely at the tiny badge icon in the top-left corner of the notification banner. If you see a small Chrome wheel logo next to a warning about viruses, storage, or prizes, it is 100% a website push notification—not an Android system alert or real antivirus app.
Can I block notification prompts on Chrome for iPhone and iPad?
On iOS and iPadOS, Apple restricts web push notifications unless you manually tap Share > Add to Home Screen to install a website as a Progressive Web App (PWA). Standard browsing tabs in Chrome on iPhone never show website notification pop-ups.